If you’re anything like me, you don’t think too much about your computers organization and its impact on you but you also do know that the more organized you are, the better you feel. A while ago, I had seen this amazing hack. At the time, I didn’t really think much about customizing my computer, especially my work computer. I mean it’s a work computer… Well, last May I decided to customize the background and well… it may sound corny but… it really brought me a little bit of happiness when I opened my computer! So, this weekend when I had some time to spare I decided to try out the icon customization idea. Let me tell you – it was so easy, surprisingly quick, and I am OBSESSED with how it looks and makes me feel when I open my computer – no chaos, just bliss.
How to Customize desktop background
Whether you choose a photo of your family, a design that makes you happy, or just a solid color, customizing your desktop background is really the first step to customizing your entire desktop. I’ve been loving my current desktop background.
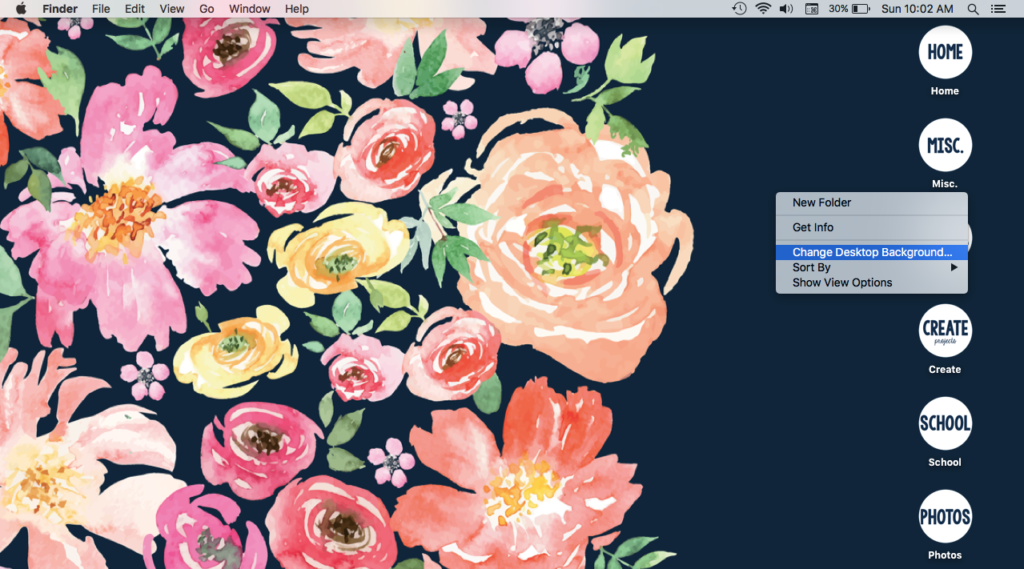
To customize your desktop background, right click anywhere on your desktop. Click “change desktop background.” And upload or pick what you like.
How to Customize Your Icons Design
1. Design Your New Icons
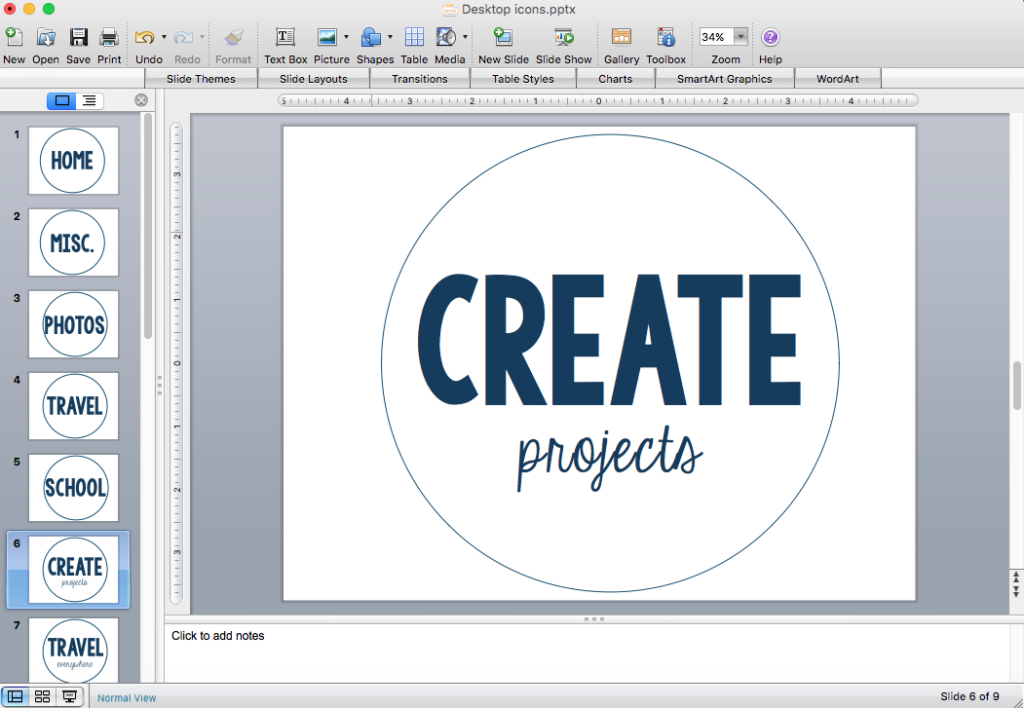
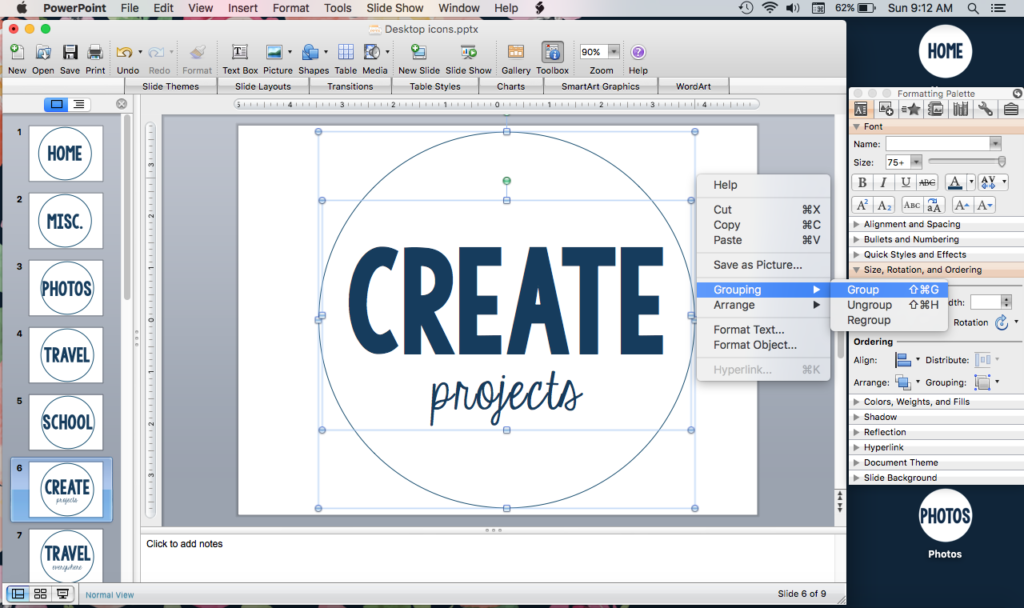
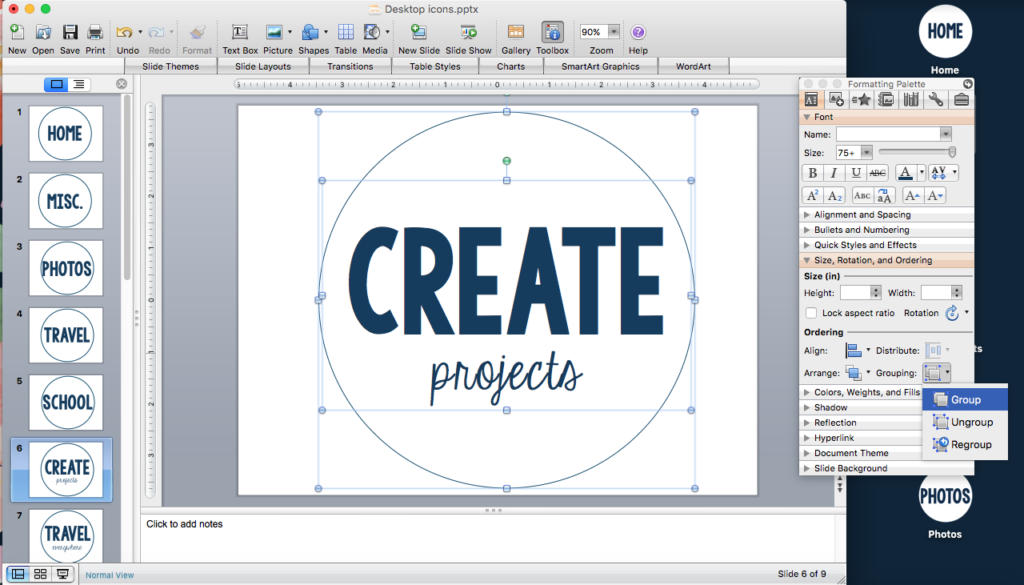
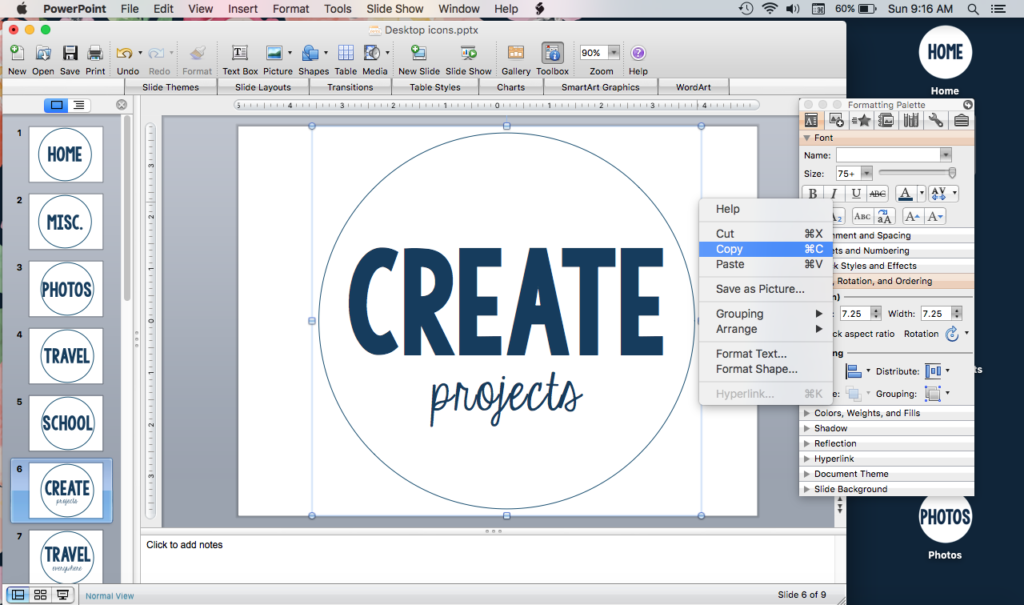
I like to use powerpoint to design my own icons. Open powerpoint, insert the circle shape or whatever shape you’d like. For the circle, make the shape 7.25 X 7.25. For other shapes, just make it as tall as the powerpoint slide. Choose the coloring and text that you’d like. Important: Make sure all the text and images are grouped together. There are two ways to do this…First, highlight/select all the images/text on the page. Then right click, then hover over “grouping,” then click “group.” OR Then look at the powerpoint tool bar and click “arrange” then “group.”
Want to skip this step & Just use the icons I Made?
Just click the button on the left. You will get an EDITABLE powerpoint that you can use AND pngs of each of the icons that you can use. For the editable powerpoint, I used the fonts: KG Let Her Go Solid and KG Eyes Wide Open.
2. Copy 1 of Your New designs
After all the elements of your design are grouped together, right click on the design and copy it.
If you are using the PNG versions of my icons, then open it the PNG icon in preview -> edit -> copy.
3. Make your design the icon
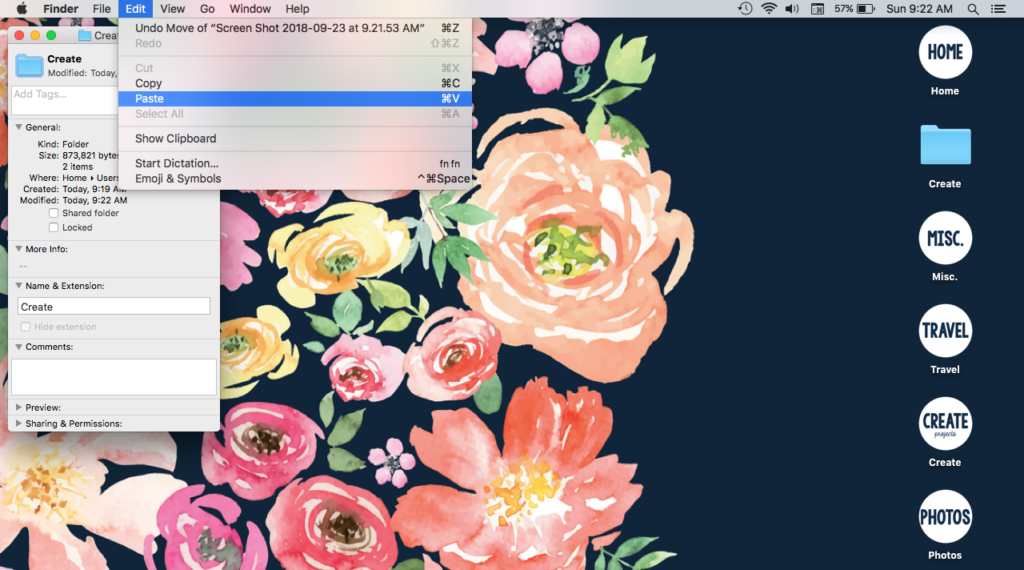
Now, minimize the powerpoint. Right click on the folder that you’d like to change the icon for. Then click “get info.” A new screen will pop up – here is where I had a difficult time. Make sure that the folder icon in this “get info” pop up is selected and highlighted. Now, click “edit” and “paste.”
4. Voila!
Now, repeat these steps for the remaining folders that you would like to customize.
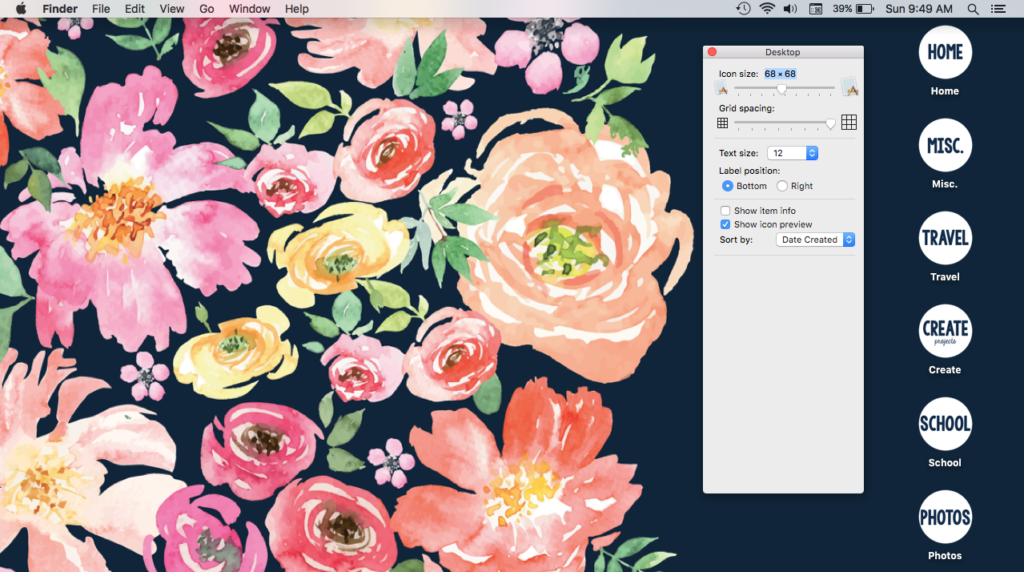
Changing the size of your icons
I also changed the size of my icons. First, right click anywhere on your desktop. Select “show view options.” Then, a pop up will appear. Then where it says “Icon Size,” adjust the sizing based on your preference. Right now, mine is at 68 X 68.